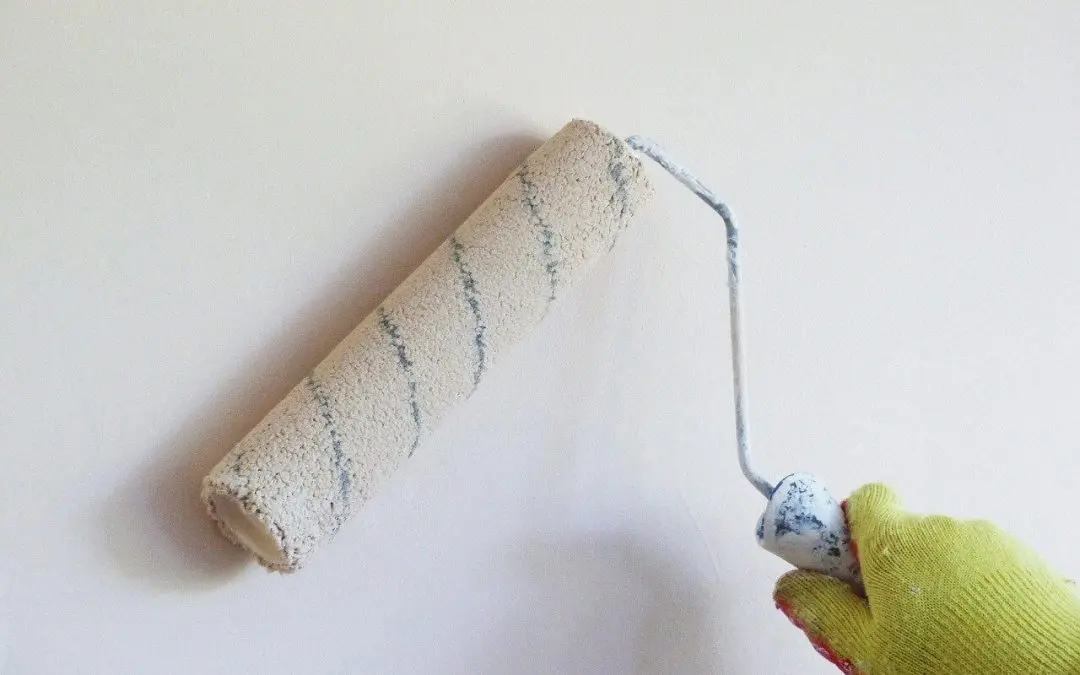
Painting your walls can transform a room, bringing a fresh, new look to your home. However, proper preparation is the key to a smooth, professional finish. Take the time to prepare your walls for painting, and you can ensure your paint job looks great and lasts for years. Here’s a step-by-step guide to get you started.
Clean the Walls Thoroughly Before You Prepare Your Walls for Painting
Before you start painting, it’s crucial to clean your walls to remove any dirt, dust, or grease. Even if your walls look clean, they likely have a thin layer of grime that could prevent the paint from adhering properly. Use a mild detergent mixed with warm water to wash the walls, focusing on areas like the kitchen or bathroom where grease and moisture might be more prevalent. After washing, rinse the walls with clean water and let them dry completely.
Repair Any Damage
Inspect your walls for damage, such as cracks, holes, or dents. Even minor imperfections can stand out after painting, so it’s important to repair them before you begin. Use a spackling compound to fill in holes and cracks. Once the compound is dry, sand it until it’s smooth and flush with the surrounding wall. You may need to use a patching kit for larger holes or damaged areas. After repairing, wipe down the walls again to remove any dust from sanding.
Sand the Surface While You Prepare Your Walls for Painting
Sanding the whole walls achieves a smooth, even paint finish. It removes old paint, gloss, or rough spots that could affect the final appearance. Use fine-grit sandpaper to sand the entire surface of the wall gently. Pay special attention to areas where you’ve applied spackling compound, as they need to be perfectly smooth. Once you’re done sanding, wipe down the walls with a damp cloth.
Apply Painter’s Tape
Apply painter’s tape along the edges to ensure clean, crisp lines where your walls meet the ceiling, trim, or other surfaces. Take your time to apply the tape carefully, pressing it down firmly to prevent any paint from seeping underneath. If you’re painting around fixtures or outlets, cover them with painter’s tape as well. This step protects these areas and gives your paint job a professional look.
Prime the Walls
Priming your walls is an essential step that many DIY painters overlook. A primer creates a uniform surface for the paint to adhere to, which is especially important if you’re painting over a dark color or a surface with stains. Choose a primer appropriate for your wall type and the paint you’ll be using. Apply the primer in even strokes, and let it dry completely before moving on to painting. Priming also helps to hide any repairs or patches you’ve made, ensuring a consistent finish.
Final Inspection After You Prepare Your Walls for Painting
Before you start painting, take a final look at your walls to ensure everything is in order. Check for any missed spots, uneven areas, or imperfections that need additional attention. It’s much easier to fix these issues now than after you’ve started painting. Once you’re satisfied with your wall preparation, you’re ready to start painting.
Proper wall preparation is the foundation of a successful painting project. By following these steps—cleaning, repairing, sanding, taping, and priming—you’ll set yourself up for a smooth and beautiful finish. Remember, the time you invest in preparing your walls will pay off in the quality and longevity of your paint job.
FAQs
Can I paint directly over wallpaper, or should I remove it first?
It’s best to remove wallpaper before painting. Painting over wallpaper can lead to peeling and an uneven finish. If removing the wallpaper is not an option, ensure it’s firmly attached to the wall, then use a special primer designed for wallpaper before painting.
What should I do if I discover mold or mildew on my walls?
If you find mold or mildew, it’s essential to address it before painting. Clean the affected area with a solution of one part bleach to three parts water. Allow it to dry completely, then apply a mold-resistant primer before painting.
How can I test if the old paint is oil-based or water-based?
To determine if your old paint is oil-based or water-based, perform a simple test: dip a cotton ball in rubbing alcohol and rub it on the wall. If the paint comes off, it’s water-based. If it doesn’t, the paint is oil-based. This is important because you need to use a primer compatible with the old paint before applying the new paint.
Do I need to remove all the old paint before repainting?
You don’t need to remove all the old paint unless it’s peeling or flaking. However, you should sand down any rough or uneven spots to ensure a smooth surface for the new paint. If there are multiple layers of old paint, especially if they’re thick or damaged, stripping might be necessary.
AAA Professional Home Inspectors offers inspection services to homebuyers and sellers in Kentucky and Southern Indiana. Contact us to request an appointment.

